
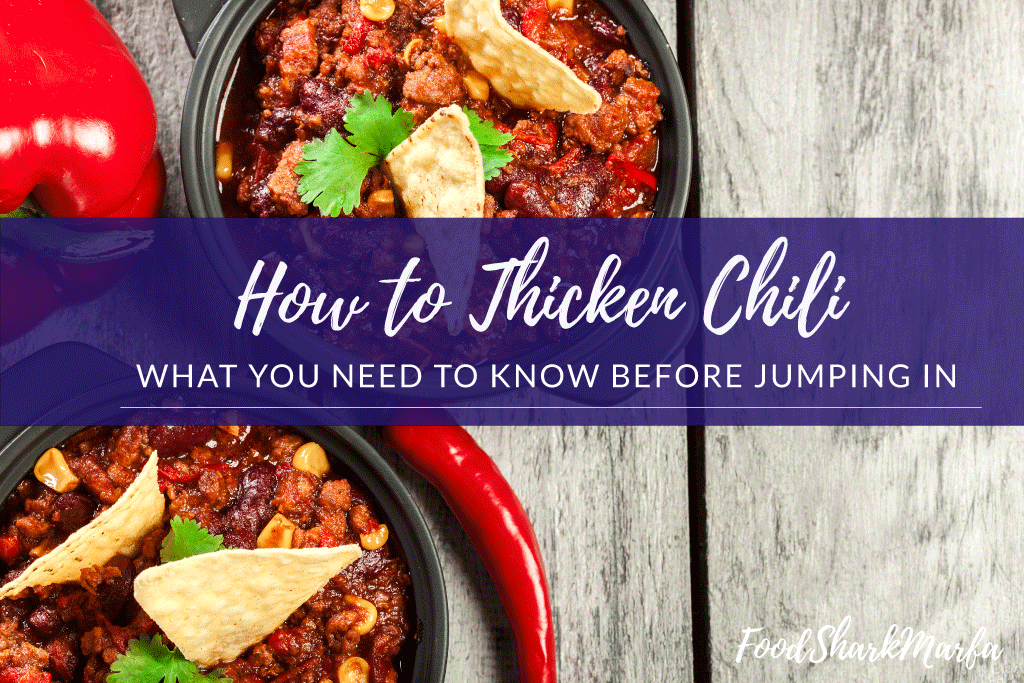
I know there are serious debates out there as to whether chili should be made with or without beans; instead, I am keeping away from that can of worms - or should that be beans - and in this tutorial I will be focusing on how to thicken a chili quickly and easily using canned refried beans and some other quick methods, including tortilla chips.
Occasionally I do cook chili on the stove, especially when I need some for a last minute meal, but I tend to use my crockpot more often than not, and even though I am careful with how much liquid I add to a crockpot chili, it always seems to end up too runny. As I sometimes add beer to chili that can also keep it runny.
There can never be too much bean in a chili, and yes, I can hear some of the disagreements out there, but as with many things, chili is very personal. Seriously though, the main advantage of using refried beans as a thickener is that it does not matter whether you make chili in a one pot, a pan or even the microwave (I know some who do!), using refried beans thickens a chili quickly without leaving lumps while adding very little to the taste of the chili.
Although I do sometimes make my own refried beans, I always keep a couple of cans in the kitchen cupboard so I can whip up a quick chili if I have unexpected guests for dinner. Canned refried beans are also my back up for super-quick nachos; I just spread a layer on the bottom of the baking pan before adding corn chips, cheese, onions, beef etc. and baking in the oven.
Refried beans, usually made with pinto beans, are, like kidney beans, a good source of protein and fiber and can help maintain health blood sugar levels, cholesterol levels and gut health as well as helping us to feel fuller for longer.
Beans are also rich in antioxidants and contain minerals such as iron, potassium, magnesium and phosphorous as well as vitamins such as thiamin and folate, which is even more reason to add a little to your chili!
As well as thickening with canned refried beans, in this tutorial I also offer quick ways to thickening chili with corn; specifically corn chips, corn meal and masa harina.A Historical Look at Chile Peppers and Chili
Chiles were used in Mexico around 9,000 years ago and they were first cultivated around 5,500 years ago. When Columbus arrived in South America, he discovered the chili and thought it was a pepper and so named it ‘chile pepper’.

Chili as a dish did not originate in Mexico and in fact in 1959, a Mexican guide (Diccionario de Mejicanismos) defined chili con carne which translated as ‘detestable food passing itself off as Mexican, sold in the U.S from Texas to New York’.
1700s, when a ‘kind of hash’ would be made with meat and nearly as many peppers. Folklore tells that a recipe for chili con carne was written down in the 1700s by a nun called Sister Mary of Agreda of Spain, who was known to the Indians of the Southwest US as ‘La Dama de Azul’ or ‘the lady in blue’. Although historical records suggest that Sister Mary never left Spain, her recipe for chili included antelope or venison meat, onions, tomatoes and chili peppers!
By 1731, sixteen families had emigrated to what is now San Antonio from the Canary Islands and the women of the families made a spicy Spanish stew that was similar to chili.
In the 1850s, a chili mix was created by Texan cowboys and adventurers as a staple when travelling. They used dried beef, fat, salt, pepper and chili peppers and pounded it all together into rectangles – ‘brick chili’ - which could be rehydrated with boiling water. It is thought that some of these intrepid travelers also planted pepper seeds, onions and oregano in mesquite patches (away from cattle) along the trails so they could use them for making chili at a later date.
Women who followed the Texan armies around in the nineteenth century also made a venison or goat meat stew with chili peppers and wild marjoram and the ‘Chili Queens’ of Alamo were Latino women who sold chili made with beef and dried red chilies from open air stalls to soldiers in and around Alamo City in the 1880s. By 1937, the Chili Queens were out of business as they could not conform to sanitary standards that were then being enforced in the restaurants of the city. Although given a brief respite in 1939; shortly after the end of the Second World War, the stalls were closed for good.
Also, during the 1880s and onwards, prisoners in Texas jails were fed chili as a cheap meal and prisoners would actually rate Texan jails as to how good its chili was! In 1893, Texas chili arrived at the Columbian Exposition in Chicago and by 1895, chili bricks were being sold in a meat market and by 1921, the proprietor began to can it, under the name Wolf Brand Chili, a brand still sold today.
By 1977, chili manufacturers had successfully lobbied Texas legislature to have chili proclaimed as the ‘state food’ of TexasThickening Chili with Canned Refried Beans

- One sauce pan or one pot of runny chili already cooked
- 1 can (16 oz) of refried beans – You can use homemade refried beans if you have them.
- If you do not have refried beans to hand then you can use a spare tin of kidney beans, black beans or any other canned beans. If you open them and rinse them off, you can use a potato masher or hand blender to get them as fine as you can
- Sharp knife – If you are lucky enough to get the refried beans straight out of the can, you can just slice the beans
- Spatula – for stirring the beans into the chili
You may also need a can opener if the can does not have a ring top and if the refried beans will not come out of the can easily then you will also need a tablespoon to remove the beans from the can and a bowl to pop them into.
Step by Step Instructions
The chili should be ready to serve before you thicken it this way. As it only takes a minute or so to thicken using canned refried beans, you can turn the stove off. If you do leave the stove on, then it should be on as low as you can get it to reduce the risk of burning the chili.
If you have made the chili in a one pot, then it can be turned off before thickening.
Step 1: Open and slice the Refried Beans
Use the can opener to open the can, or if a ring top can then remove the top. Look at the beans, if there is a gap between the beans and the side of the can they will probably come out of the tin as a block. If you can get them out this way, then do, as it is easier than scraping the can out and ending up leaving quite a bit of the refried beans stuck to the sides of the can.
Turn the can upside down over the cutting board and alternate between gently shaking and tapping the side of the can as the beans slide out. With luck, they should slide straight out. Then use your knife and cut a block off the refried beans.
If the beans are on the soft side and will not slide out cleanly, then use the spoon to scrape the beans out into the bowl.
Step 2: Add the refried beans to the pan
I just use the knife and my spare hand to move the piece of refried beans straight into the pan. If you have had to add your beans to a bowl, or they are homemade ones in a bowl, then add a couple of heaped spoons with your tablespoon.
Step 3: Stir in the refried beans
These will dissolve almost as soon as you add them, just use your spatula to give the chili a quick stir to make sure they are fully dissolved throughout.
Look at how thick it is now. If it is still too thin for your liking, then cut off another block of the refried beans/add another couple of tablespoons and stir in again. Continue to add refried beans until it reaches your desired thickness.
For this tutorial, I used about three quarters of the can of refried beans to thicken around a 10 cup pan of chili.
Pro Tip: If you are keeping the chili on the heat while thickening, then you must keep stirring as the increased starch content in the chili increases the risk of it sticking and starting to burn.
Step 4: Serve
Once thickened, the chili is ready to serve however you want.
Pro Tip: If you have any of your refried beans left after thickening the chili, heat them up in the microwave – around 30 seconds or so - and put on the table with your chili, corn chips and dips – they’ll soon disappear!
If you reheat leftover chili in a sauce pan, then you will need to keep stirring as it may begin to stick to the pan as it heats. If it has over-thickened while standing, then adding a little liquid of your choice, such as tomatoes, broth, stock, water or beer, will dilute it once more.
Thickening Chili with Tortilla Chips

- A couple of ounces of tortilla chips – the broken ones left at the bottom of the bag are just perfect for this
- Rolling pin – If you do not have a pin, an opened can will double as a pin
- A plastic zip bag – One that has been used before is fine as you will damage the bag when crushing the chips
Step by Step Instructions
Step 1: Add the tortilla chips to the zip bag
Place the corn chips in the zip bag and zip it up but leave a gap of an inch or more to allow the excess air to escape when you start crushing.
Step 2: Crush the tortilla chips
Using the rolling pin firmly roll it over the bag or corn chips. Turn the bag around a few times to make sure they are all crushed evenly.

Step 3: Add the tortilla chips to the cooked chili
Once the tortilla chips are all crushed then you can just pour them straight into your chili and stir well.

Leave the chili on the heat for a five minutes – low is fine – to give the corn chips time to soften. You can then serve.
If it is still not thick enough for your tastes, return to Step 1 and crush another couple of ounces of chips. Avoid adding any more – unless a very large pan of chili – as too much corn will begin to overpower other flavors in the chili.
Pro Tip: If you do thicken your chili using salted tortilla chips then you may want to avoid adding salt while your chili is cooking; instead, you can add extra salt to taste after it has been thickened with the tortilla chips.Thickening Chili Using Corn
You can also add a couple of tablespoons of cornmeal or masa harina (ground from dried hominy) directly to the chili, you will need to continue to simmer the chili for another five minutes or so to allow it to thicken it. But, like adding corn chips, cornmeal or masa harina will bring a corn flavor to the chili. This can complement a good chili, but again, some will disagree and say that it alters the flavor too much.
If you want to use cornstarch, then mix a tablespoon of cornstarch with a tablespoon of cold water in a bowl and beat it to remove any lumps. This can then be added to the chili, stirred in and left on the heat until the chili is bubbling and thickening. This should only take a couple of minutes.
Although cornstarch is flavorless, if too much is added it will knock out some of the heat of the chili, so like any corn product, it should be used with caution.
Pro Tip: If your chili has over-thickened while standing, then adding a little liquid of your choice, such as tomatoes, broth, stock, water or beer, will dilute it once more.Thickening Chili Naturally, With Flour or Tomato Paste
Although I prefer to reduce liquids down naturally if I can, this does increase the risk of burning and sometimes, it just takes too long. A crockpot chili can take well over an hour to reduce naturally. If a chili is on the hot side, then a long natural reduction will also increase its kick even more, though this may not necessarily be a bad thing for some of us!
Similarly, using a flour as a thickener can tone down the chili and you also need to make sure that it has been properly mixed in with water first, and then stirred in to the chili to avoid any lumps of flour remaining in your finished chili.
Flour will take the heat out of a chili is why I prefer not to use it, even though it is a ‘go to’ ingredient that most of us always have to hand.
I may occasionally add a 6 oz can of tomato paste to help it thicken, depending on the type of chili, but if I do, I usually add more chilis as the tomato tends to neutralize some of the flavor.
Pro Tip: Whichever method you have used to thicken your chili; if you reheat leftover chili in a sauce pan, you will need to keep stirring as it may begin to stick to the pan as it heats.
Conclusion
I really hope you have enjoyed my step by step tutorial on how to thicken chili quickly and easily using refried beans, corn chips, cornmeal and more, and that the next time you lift the lid on your one pot to find a runny chili you know you will have a number of options to hand to quickly thicken your chili.
I’ve also talked about a few other ways to thicken up, such as by reducing naturally or using tomato paste. Do you have another tried and tested way to thicken up your chili? Please do share it in the comments below, I would love to hear your tips. Also, if you have enjoyed reading this, then you can also leave me a comment and do feel free to share it with your friends!