
You’ve found time to stop at the gym and the pet store on the way home from a long day at work; remembered to pick the kids up from soccer practice and now you need to concentrate on dishing up a tasty dinner for everyone. Sound familiar?
For the many of us who have days like this, rather than having to spend a couple of hours preparing in the kitchen, or tipping the freezer out to see what we can put together, it’s just easier to plug the rice cooker in.
Rice-based dishes can be very nutritious; they are usually quick and easy to prepare and for me, the most important thing about using the rice cooker is that it frees up my time and attention to focus on other things, even if just to concentrate on preparing the meat and vegetables.
It can take practice to get good results when you use a rice cooker, so to help you to get cooked fluffy rice every time, I have put this tutorial together along with some of my ‘pro tips’ for getting the best out of your rice cooker.
What You Will Need to Follow This Tutorial
- Electric rice cooker – this can be any capacity
- Manual/recipe book for the rice cooker - you will need to check this during the tutorial
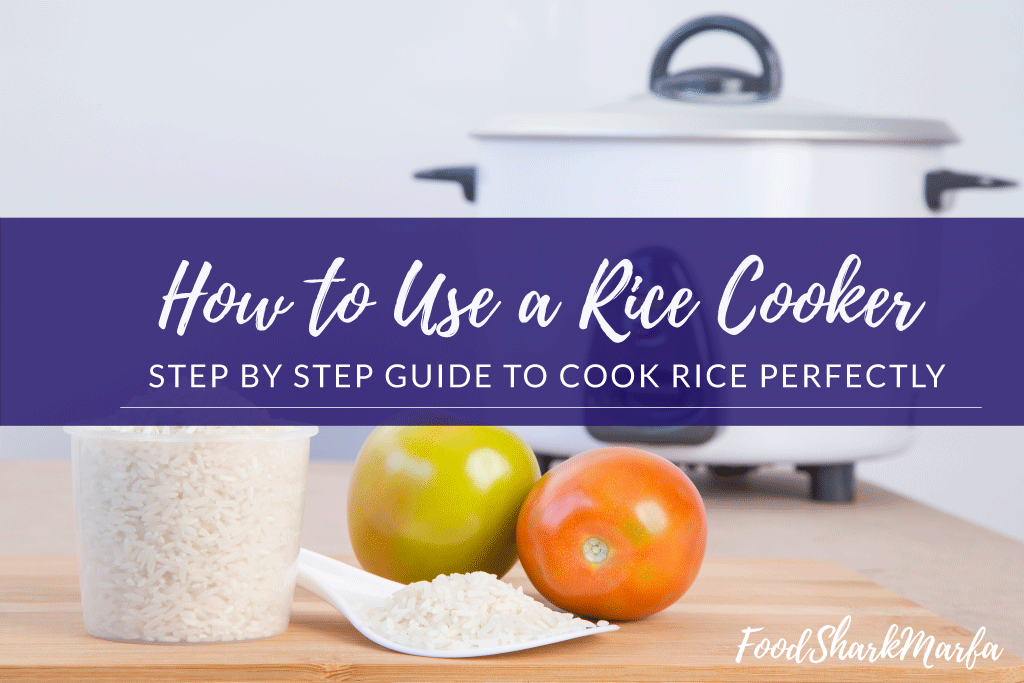
- Measure cup – this should be the one that came with your rice cooker
- Rice – white or brown, depending on preference and your cooker type as not all cookers will easily cook all types of rice
- Sieve – for rinsing the rice
- Water - quantity as recommended in the manual/recipe book per cup of rice
Instead of a rice cooker, you may use a One Pot or other multi-use cooker. This is fine, but you will still need to have the manual/recipe book and measure cup to hand. A multi-use cooker can take longer to cook rice than a normal rice cooker as it may take longer to get up to temperature, and its capacity may be greater.
If you want to add some extra flavor as you cook your rice then you may also want a pinch of one or more of the following:
Or any other flavor you may fancy, or you know will taste great alongside the rest of the meal.
Depending on how much rice you are cooking, you may need to add more seasoning, but be careful not to over season - up to half a teaspoon is usually enough to add flavor.
PRO TIP: If you use your rice cooker for oatmeal or other sweeter grains, then you may want to limit what extra flavors you add, unless the cooker lid is easy to dismantle for deep cleaning, as you may end up with odor residue from stronger flavors such as garlic or onion.
Step by Step Guide to How to Make Rice in a rice cooker
Step 1: Measure out your rice
Using the measure cup and quantities in the manual/recipe book provided with your rice cooker, carefully measure out the rice. Generally, one standard cup measure of uncooked rice will give you anywhere between 1½ and 3 cups of cooked rice.
PRO TIP: When you buy a new rice cooker, if the quantities are not printed in the manual, measure out the capacity of the measure cup and jot it down on the manual or somewhere safe. As this measure cup is rarely a standard cup measurement, it means if you break or misplace the measure cup, you can still measure out the correct quantity for your cooker.
Step 2: Add your rice measure to your sieve and rinse
Rinsing in cold water removes excess starch which can cause your rice to clump and stick; something which can start to wear down any non-stick finish on the rice cooker bowl.
Rinsing also removes any contaminants such as pesticides which may be on the rice. As you rinse, stir it to prevent clumping. If the rinse water contains bits or looks discolored, rinse again until it is clear. Unfortunately, rinsing will also remove any folic acid, powdered iron, niacin or thiamine which has to be added to rice sold in the US.
PRO TIP: Basmati or jasmine rice may cook better if left unrinsed.
Step 3: Add the rice to the rice cooker bowl

Some of you may prefer to soak the rice for 30 minutes or so at this point. I do not tend to bother doing this as I find it makes little difference to the cooking time, although if you well season your rice, it does give longer for flavor to infuse.
Step 4: Measure out the water
Cold water is usually better, and you will need to follow the quantity recommended in the manual/recipe book for the type of rice, and how much of it you are cooking. Brown rice needs more water than white, and a white long grain will need more water than a white short grain. Indian style rices generally need less water to give a drier rice.
If you find that your rice is slightly under or over cooked, you can then adjust the water quantity on the next cook (and remember to make a note of the change).
If you have overcooked or mushy rice use around ¼ or ½ cup less of water to stop the rice absorbing as much water and cooking for as long. You can throw the overcooked rice into a fry pan or wok and stir fry it with your veggies and meat.PRO TIP: Always adjust water quantity in line with the manufacturer’s instructions if you live at altitude, otherwise your rice will rarely cook due to the lower air pressure. By adding more water though, your rice will take longer to cook.
Step 5: Add the water to the rice in your rice cooker bowl

Using a nylon or wooden spoon gently push any stray grains off the side of the bowl and make sure they are all under the water. Avoid stirring at this point as it may cause more starch to be released, giving stickier rice.
Step 6: Insert the bowl into the rice cooker
Always make sure the lid is tightly closed and turn the cooker on.
If your cooker has a number of rice cooking options, then select the correct one for the type of rice; you can check against the manual just to make sure.

Many rice cookers are simple on/off, and if like me, you have one of these simpler models, it is even more important to have measured out the rice and water as cooking time is calibrated to the weight of the rice and water in the bowl. If the quantities are wrong, then the thermal sensing device in the rice cooker – usually a spring-loaded thermometer on which the bowl sits – will switch the bowl over to ‘keep warm’ either too early or too late.
Once your cooker is on, you have the time to focus on preparing the rest of the meal, or even use the time to grab a well-deserved cup of coffee!
Step 7: Leave the rice to cook
Avoid opening the rice cooker to check on the rice as this will affect the amount of steam in the cooker, and by default, its cooking time. If you do want to check or stir, then try to wait until you know it is almost ready.
As I tend to make flavored rice in mine, and it can be prone to burning, I will do a check. I usually wait until the sound of cooking changes from the simmering to more of a ‘dry’ sound. At this point I just open it up for a quick stir and visual check to reduce the risk of it sticking or burning. A spot of butter or oil in the rice will sometimes help stop it sticking as well.
Once all of the water in the bowl has evaporated, the temperature in the cooker will exceed the boiling point of water and the rice cooker will automatically switch onto the ‘keep warm’ function. Some cookers will have an audible alarm at this point, others will just click.
Step 8: Keep it warm
Once your rice cooker has switched to ‘keep warm’ you can then either open the cooker or allow it to ‘rest’ for ten minutes or so. More advanced models of rice cooker will allow it to ‘rest’ automatically when cooking is finished.
If you are serving up all the rice with your meal then you can unplug the cooker at this point as this will lessen the chance of the rice sticking to the bowl.
Otherwise, you can leave it on keep warm for no longer than the manufacturer states; any longer and the rice will not be safe to eat and could cause foodborne illness.PRO TIP: If you find that rice often burns in your cooker then remove it as soon as it clicks onto keep warm. It is usually this that causes the burning, rather than the cooking.
Step 9: Fluff and serve
Gently fluff up the rice and serve. You can use a fork but you may want to stick to nylon, wood, plastic or silicone if you have a non-stick coated rice bowl.
PRO TIP: If your rice is undercooked, pop it into a pan with a ¼ cup of water, cover and allow it to gently cook for a few minutes. If you leave it in the rice cooker to cook for longer it will either burn, or the cooker itself will not turn back on. Next time you make the same rice, add an extra ¼ to ½ of water per cup of rice.
Step 10: Clean up
Even if your non-stick bowl is dishwasher safe, if the rice has stuck or burnt, it is worth running some warm water and a dishwasher detergent into it so it can be soaking while you are enjoying dinner. After dinner you can then just put it into the dishwasher or wash by hand.
Once the rice cooker itself is fully cold, wipe it over with a damp cloth and avoid the inner spring-loaded mechanism as this is quite fragile. Dismantle the lid as far as you are able and give it a thorough washing before leaving it to air dry. Once everything is completely dry, which may even be overnight, you can then re-assemble your cooker ready for its next use.
Conclusion
Over the years I have found that my rice cooker is a fast solution for healthy meals with minimal preparation. Once the rice is in the cooker, it’s easy to throw some leftover vegetables and meat into the wok and then serve up.
Using a rice cooker is not always without error though; and sometimes the line between perfect fluffy rice and a soggy or undercooked dry mass can be very fine indeed.
I really hope that you have enjoyed this tutorial and some of the pro tips on how to use a rice cooker. It would be great if you would take the time to share this tutorial with your friends and I would also love it if you have the time to leave some of your comments and best rice cooker tips below.