
The Centers for Disease Control and Prevention (CDC) say that raw foods of animal origin, including raw or undercooked poultry, are the most likely foods to be contaminated with the bacteria that can cause foodborne illness.
This is why it is essential to always cook chicken (and any other poultry products and meats) to a minimum safe internal temperature. The USDA Food Safety and Inspection Service (FSIS) recommends we cook whole chicken to a safe minimum internal temperature of 165°F as measured with a food thermometer, as it is this minimum temperature which stops harmful bacteria from causing foodborne illness.
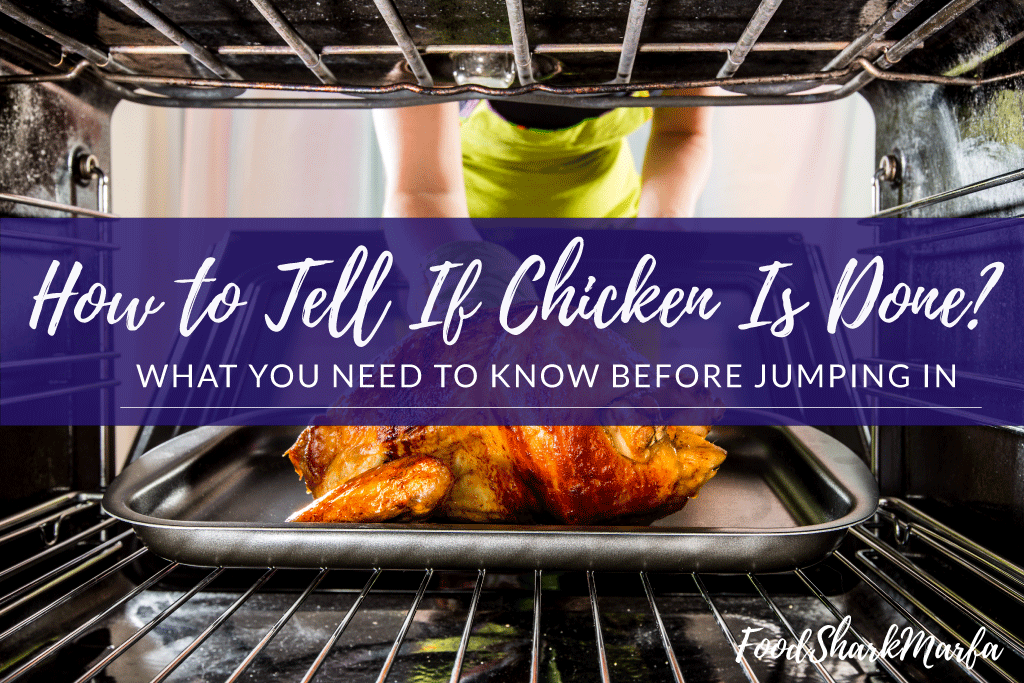
To help you know how to tell if chicken is done, in this tutorial I detail the step by step method of using a meat thermometer to ensure that your chicken is done; reducing the risk of developing an unpleasant case of foodborne illness.
Having once suffered from Salmonella along with the rest of the family (from in-store ready cooked turkey) some years ago, I can assure you it is very unpleasant, and it is also the main reason I always use a meat thermometer to ensure that my chicken (and other poultry and meats) are cooked to the safe internal temperature!
Cooking Times for Chicken
Along with checking that chicken has been cooked to the safe minimum internal temperature of 165°F, knowing approximate cooking times for different chicken products is also helpful, although it’s worth keeping in mind that when considering cooking times there are many variables, such as how big or thick the chicken or chicken pieces are, how it is prepared and how it is actually being cooked.
Also remember to adjust any guide temperature and/or cooking times if you live high altitude.
The approximate roasting times at 350°F for a whole boiler-fryer chicken is 1¼ to 1½ hours for an unstuffed 3 to 4 pound bird; if stuffed, then add an extra 15 to 30 minutes cooking time.
Bone-in breast halves (6 to 8 oz) should take between 30 and 40 minutes roasted, while boneless breasts should take between 20 to 30 minutes roasted, or 6 to 8 minutes each side when grilled.
Wings or wingettes will need around 8 to 12 minutes on the grill or 30 to 40 minutes when roasted at 350°F.
If you are microwaving your chicken, a whole chicken should take around 9 to 10 minutes per pound cooked at 70% power (medium-high), while bone-in parts will take around 8 to 9 minutes per pound or 6 to 8 minutes per pound of boneless breast halves.
You should not microwave a stuffed chicken as the stuffing may struggle to reach 165°F while the chicken itself is already cooked.
After microwaving chicken, allow boneless parts to stand for five minutes and bone-in chicken to stand for ten minutes before serving.
If you prefer to grill your chicken, then you do need to keep an eye on it during grilling as some parts will cook faster due to the hot spots on the grill. Using a two zone fire can be helpful here so you can move the chicken to the cooler section and leave it to finish cooking without it burning on the outside.
For approximate cooking times for other forms of chicken, the ‘Chicken from Farm to Table’ food safety factsheet published by FSIS is a useful guide.
Cooked Chicken Color
FSIS says that safely cooked poultry can be colored white, pink, tan or in between these colors. Even if the meat is pink, as long as all parts have reached at least 165°F, it is safe to eat.
Pink chicken often arises through the roasting process, as when it cooks, gases in the oven react with the hemoglobin in the meat to give it a pink tinge. Younger birds are more at risk of pink meat as their thinner skins means that the gases in the oven reach the flesh easier.
Older birds usually have a layer of fat under the skin which helps protect the flesh from oven gases, so pink tinges may only be seen in spots where there is no fat under the skin. Preservatives such as nitrates and nitrites can also cause pink meat.
Smoked or grilled chicken may also be pink and in some cases, pinkness may be seen all around the outer flesh. As with any chicken, as long as it has been cooked to a minimum internal temperature of 165°F it is safe to eat.
Sometimes chicken can be darker, especially the meat around the bones. This is more common in younger six to eight week old broiler-fryer chickens and is because the bones have not yet hardened properly, allowing pigment from bone marrow to seep into the bones and surrounding flesh. This is not an issue, it is merely aesthetics. If the chicken has been frozen beforehand, you may also see darker colored flesh.
The Importance of Cooking to a Safe Internal Temperature
Chicken is associated with a number of harmful bacteria which can cause foodborne illness in humans.
Salmonella is found in a number of food sources, including chicken and eggs. The CDC estimates there are over a million cases of Salmonella every year in the US. FSIS requires poultry establishments to meet standards to show the establishment is effective in controlling contamination by Salmonella. Premises are also inspected to ensure compliance with the Salmonella standard.
Campylobacter caused by Campylobacter jejuni is also a common cause of foodborne illness in humans and like Salmonella, poultry establishments have to meet Campylobacter standards and are inspected to ensure compliance.
Listeria, caused by Listeria monocytogenes is destroyed by cooking, but poor handling of cooked products can cause this bacteria to multiply.
There are many types of Escherichia coli (E. coli) which live in our gut and the guts of poultry and other animals, and although many are not harmful, a small number can cause foodborne illness in humans. E. coli contamination often occurs during slaughtering from fecal contamination.
Although FSIS has a ‘zero tolerance’ standard for visible feces on poultry carcasses, E. coli can also be on feathers and dust. Testing for generic E. coli on carcasses is also required by FSIS to make sure that processes are correct to prevent and remove any fecal contamination.
Any chicken bought retail will also have had a mandatory inspection either by the USDA or the State which has standards equivalent to Federal requirements. The ‘Inspected for Wholesomeness’ seal of the USDA says that the chicken is free from any visible disease.
Some chickens are also graded, although this is voluntary rather than mandatory. A USDA Grade A chicken will have a meaty and plump body, clean skin, no cuts, broken bones, bruises or discolorations.
Types of Meat Thermometers
Some of us prefer to use an oven safe thermometer and leave it in the chicken while cooking, which is fine, but unless they have multiple probes, you still need to move the thermometer to check the temperature in other parts of the chicken.
Some digital thermometers are also safe to leave in the chicken while cooking and these thermometers usually have a stand or magnet so you can leave it on the front of the oven or standing on the counter top during cooking. Like a manual thermometer, you will need to take it out to test for doneness in other parts of the bird.
Dial instant read thermometers are rarely oven safe and usually need 20 seconds or so for an accurate temperature reading. You may find a thermometer forks handy for grilling and these usually give fast readings.
If there is a pop-up thermometer in your bird when you buy it, you can use it as a guide when it pops up, but it is still safer to check the temperature with your meat thermometer. Similarly, avoid relying on single use/disposal thermometers which may come with your chicken or other poultry product.
What You Will Need to Follow This Tutorial
- Cooking chicken – I have based this tutorial on a whole roasted chicken
- Meat thermometer – I recommend an instant read thermometer, either digital or dial
- Boiling or ice water to calibrate your thermometer
- Jug of food-safe sanitizer solution - A mix of chlorine/bleach diluted to manufacturer’s directions for food hygiene is fine

Thermometers can break or you may find you have no spare batteries, in which case you may need to rely on the old fashioned methods to assess doneness.
You can cut a chicken piece in half and squeeze it a little, if the juice is clear, then it is done, if still pink, then it will need to cook for longer. This isn’t always the best way to check doneness, especially if you have multiple pieces of chicken and they are being served up at a formal dinner!
If cooking a whole bird, you can make a slice in a thick part of the bird and use a knife and a fork to pull the meat apart and see what color the meat and its juices are.
I remember having to test meat juices with a BBQ skewer; I would stick it into the meaty parts and then look at the color of the juices running out. If they were pink, back in the oven it would go, otherwise, if clear, then the chicken was done.
Chicken pieces that are bone-in can cause more problems when checking how done they are. Although they may look cooked on the outside and in the middle, they can still be underdone near the bone. Because bone-in chicken can keep the pink flesh near the bone even when cooked, it is always safer to check the temperature with a meat thermometer.
Step by Step Instructions
Step 1: Check your thermometer works
While your chicken is roasting/cooking, you can spend a couple of minutes checking your thermometer, especially if you haven’t used it for a while.
Either insert the thermometer probe into boiling water (212°F) or ice water (32°F) for 30 seconds or so - allowing temperature adjustment for altitude if necessary - to confirm it is accurate. If it is out, and you are able to calibrate it manually, then do so using your ice or boiling water.Pro Tip: If your thermometer is out by a couple of degrees (over or under) and you are unable to calibrate it yourself, do not panic, instead, just make a note of the difference and when you use it on the chicken just add or subtract that difference to give a more accurate reading.
Step 2: Remove the chicken from the oven
This should be towards the end of its minimum recommended cooking time, but before you would presume it to be done. Place the chicken tray/dish on a cutting board or other heatproof surface.
Step 3: Insert thermometer
Slowly insert the thermometer probe into the thickest part of the thigh and rather than trying to guess how far to push it, just keep going until it hits bone.
Slowly retract the thermometer probe away from the bone by no more than quarter of an inch; stop and wait for the temperature reading. The thermometer will need to stay in place for the length of time recommended by its manufacturer. You also need to avoid taking readings from fat or gristle.
This is why I prefer instant read thermometers as they are quicker at giving a reading, and of course, you do not want your chicken out of the oven any longer than necessary while still cooking as when temperatures start to decrease it increases the risk of bacterial growth.
You can then slide the probe out a little further, stop and take another reading. You can repeat this one or twice and you will see some temperature variations, but the temperature value you are looking for is the lowest to assess whether or not the chicken is done.
Pro Tip: 165°F is the recommended safe minimum internal temperature. Most of us prefer to cook higher though – I usually cook a whole chicken to 180°F to 185°F or so and if stuffed, I make sure it is at least 170°F in the center/stuffed cavity.
Step 4: Clean thermometer
Dip the thermometer probe into the jug of sanitizer then rinse under the hot faucet.

Pro Tip: The meat thermometer probe should be cleaned after each time you use it to prevent any cross contamination. At a minimum, use very hot soapy water or you can put it in boiling water for at least 30 seconds.
Repeat Step 3: Now insert the thermometer probe into the inner and thick part of the wing to check whether at the safe minimum internal temperature of 165°F.
Repeat Step 4: Sanitize the thermometer probe and rinse.
Repeat Step 3: Finally, insert the probe into the thickest part of the breast and see if it is at the safe minimum internal temperature of 165°F.
If you have stuffed your chicken, repeat Step 6 and insert the probe into the center of the cavity to check the temperature of the stuffing as this needs to be at a minimum of 165°F to ensure that harmful bacteria are killed.
If you have bought your chicken with giblets and are simmering them in water at the same time as you are roasting your chicken, then they need to cook to the minimum temperature of 165°F. When the liver is cooked it is usually crumbly and the gizzard and heart will have softened and be easy to chop.
Step 5: Replace chicken in oven
If any of the temperature readings are under 165°F then you must replace the chicken in the oven and check again in five minutes or so.

Step 6: Rest and serve
Once the temperature readings are at a minimum of 165°F (or your preferred temperature) then you can leave the whole chicken out to rest for at least five minutes before serving.

Step 7: Sanitize thermometer
You will need to sanitize the probe thoroughly using the sanitizer solution and do not forget to wipe over the dial/controller with the sanitizer.

You can then dry it off with a paper towel to reduce the risk of rusting before putting it away for the next time. Also remember to turn off your digital thermometer to preserve its battery.
Conclusion
Although there are a number of ways to see if your chicken is done, the safest and recommended way is always to use a meat thermometer to check it is cooked to a minimum safe internal temperature of 165°F.
This along with good hygiene and safe food handling can help prevent you and your family from suffering a foodborne illness from undercooked or cross-contaminated chicken.
I hope you have found this step by step tutorial informative and do feel free to share it with your friends. If you would like to make any comments about this tutorial or about cooking chicken in general, then you are welcome to do so in the comments box below.